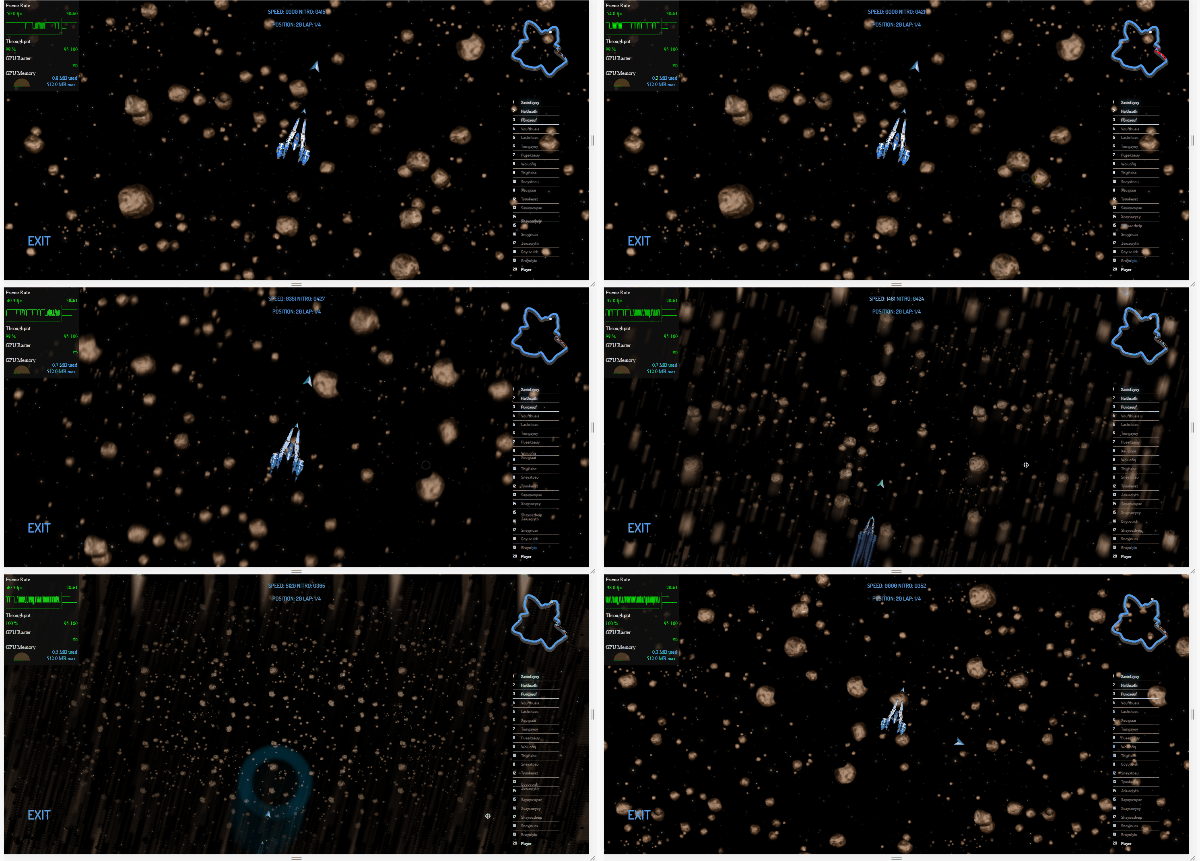
MotionBlur shader
krumza

Hi, Gio, i try make a wade-portable webgl motionblur shader according this article http://john-chapman-graphics.blogspot.com/2013/01/what-is-motion-blur-motion-pictures-are.html

For start i use blur shader that you give me:

// change the value of res to change the look of the effect
const vec2 res = vec2(200., 200.);

vec2 uv = uvAlphaTime.xy;
vec2 uvDelta = vec2(1.) / res;
vec4 color = texture2D(uDiffuseSampler, uvAlphaTime.xy);
vec4 c = vec4(0.);
for (float i=-2.; i<=2.; i++)
{
    for (float j=-2.; j<=2.; j++)
    {
        float weight = 1. - pow((abs(i) + abs(j)) / 4., 5.);
        c += texture2D(uDiffuseSampler, uv + uvDelta * vec2(i, j)) * weight / 20.;
    }
}

float r = length(uv - 0.5);

gl_FragColor = mix(color, c, r * 2.);
gl_FragColor.w *= uvAlphaTime.z;

i create a scroll in both side map with textures and create a moving object;

Than i add a cameraMove listner:

wade.app.onCameraMove = function(data){
  var diff = wade.vec2.sub(
    {
      x:data.oldPosition.x,
      y:data.oldPosition.y
    },{
      x:data.newPosition.x,
      y:data.newPosition.y
    }
  );
  wade.setLayerCustomProperties(2, {
      diff:[diff.x ,diff.y]
  });
}

I transform shader to this:

const vec2 res = vec2(200.,200.);
vec2 uv = uvAlphaTime.xy;
vec4 color = texture2D(uDiffuseSampler, uvAlphaTime.xy);
vec2 blurVec = vec2(diff.x/400.,diff.y/400.);
for (float i=0.; i<=8.; i++){
    vec2 offset = blurVec * (float(i) / float(9.) - 0.5);
    color += texture2D(uDiffuseSampler, uv + offset);    
}
color /= float(9.);
gl_FragColor = color;

But it is almost needed result but not it.

Gio Please help make normal motionBlur Shader it useful shader for every project, according article - 

CONCLUSION
Even this limited form of motion blur makes a big improvement to the appearance of a rendered scene; moving around looks generally smoother and more realistic. At lower framerates (~30fps) the effect produces a filmic appearance, hiding some of the temporal aliasing that makes rendering (and stop-motion animation) 'look fake'.

I think it was a good feature - add motion blur in wade editor

All 5 Comments
Gio

There are 2 ways of doing motion blur: it can be applied to either the whole screen (layer), or it could be applied to individual moving objects.

From what I understand from the code you posted, you're trying to do a bit of both, but it doesn't look like it'll be the correct effect for either of those types of motion blur.

If you want to do it per-object, then you'd do something similar to what you're doing above, in the shader for each sprite. First you want to determine the movement direction of the sprite on the screen. This is not just based on the camera movement, it's the actual difference in screen space position, for each frame, for the moving sprite. You can do it as you are doing it in the shader above, sampling the sprite multiple times, but it gets a bit difficult if the sprite's size is not big enough compare to the sprite's movement speed. The easiest way to achieve this effect, rather than using a custom shader, is to simply draw the sprite(s) multiple times with different opacity - it's going to be just as fast, due to the way in which Wade batches your draw calls. The only thing to do, is to remember the sprite position in screen-space (not world-space, this is important) now (call it p1), what it was for the previous frame (p2), the frame before that (p3), and so on (up to pN). Then you draw the sprite many times starting from pN with opacity 1/N, up to p1 with opacity 1.

If you have a few moving objects, this will give you a nice motion blur effect.

On the other hand, it can also be applied as an effect for the whole screen (or layer). This is good if your camera moves a lot, compared to the movement speed of your objects on the screen. In this case, the best way is to save the current layer's render target to a texture in GPU memory, and keep a rotating buffer of such textures, so that you always have a texture t1 representing the current frame, t2 for the previous frame, t3.....tN. You then draw the texture tN with opacity 1/N,.... up to t1 with opacity 1.

What you have above is similar to the latter effect (a full screen effect), but as you noted it's not going to be exactly as good as a proper motion blur shader. It's going to be a lot faster because it uses only one texture, and you don't need to save a copy of the current frame buffer every frame and then sample from many different textures, but it's just an approximation. It may be good enough for small movement, but in general it's not going to be perfect.

krumza

in theory, I want the surrounding area to be blurred, except for the center, where the camera is.

and I need a cheap way - even if not perfect, because there are a lot of objects in the background

I've recalibrated a bit and I think I'll leave it here

const vec2 res = vec2(100.,100.);
vec2 uv = uvAlphaTime.xy;
vec4 color = texture2D(uDiffuseSampler, uvAlphaTime.xy);
vec2 blurVec = vec2(diff.x/100.,-diff.y/100.);
vec4 blur;
for (float i=-8.; i<=8.; i++){
    vec2 offset = blurVec * (float(i) / float(16.) - 0.5);
    blur += texture2D(uDiffuseSampler, uv + offset);
}
blur /= float(16.);
gl_FragColor = mix(color, blur, 0.2);


Gio

If you want the effect to be stronger at the edges than at the center, try this (instead of the last line where you set gl_FragColor

const float p = 2.;
const float s = 0.5;
const float b = 0.1;
float d = pow(length(uv * 2. - 1.), p);
gl_FragColor = mix(color, blur, d * s + b);

Change constants to change the look and strength of the effect

krumza

in principle, I am almost happy with the result.

The only thing that is not clear is why the layers are combined into one, and the post-process Shader has to be prescribed for everyone?

Gio

Looking pretty good :)

Ignoring layer blur and other multi-pass effects, the rendering pipeline works a bit like this:

  • draw all sprites in one layer into one WebGl frame buffer
  • apply post-process to that layer
  • draw the frame buffer to the main frame buffer
  • repeat for all layers, until you find a layer that is not a WebGL layer, or until all layers have been processed. At that point, draw the main frame buffer to the screen


This gives you more flexibility to use a different post-processing effect for each layer. Also you can have a different resolution for each layer (if you have a blurry background, you don't need a full-resolution frame buffer for it, you can make it faster by having a half-size or quarter-size buffer). The downside is that applying the same (expensive) post-process shader once for each layer is slower than doing it once. So, especially in cases where you have an expensive post-process shader, only use a separate layer when you really need it.

I was going to say that in your case, you can do several things to avoid using multiple layers. But I can see you've already created another thread about it, so I'll reply to that one with some more details.

Post a reply
Add Attachment
Submit Reply
Login to Reply